Buying ski touring gear can really make your head spin – touring skis in all kinds of widths and lengths, two types of bindings, boots with walk-mode switches, and dozens of brands on top of that. The good news is that the whole choice becomes manageable once you understand one thing: ski touring gear isn’t chosen piece by piece, but as a matched set based on what you want it for. In this article, we’ll explain how to choose touring skis, bindings and boots so that they suit you on both the ascent and the descent. If you’re still just wondering whether to give ski touring a try, you’d better start with our introduction to ski touring – here we assume you’ve already made up your mind and are choosing your gear.
Before you start choosing: what will your ski touring gear be for?
The first and most important question isn’t “which ski is the best?” but “what am I going to use it for?” There’s no single universal ski for everything, and it’s the purpose that determines all the other parameters.
So ask yourself a simple question: what will the ratio of climbing to skiing down be? If what attracts you most is the exercise itself, long tours and fitness skinning, you want a light and rather narrow setup. If you’re mainly after powder descents and steep terrain (freeride), you can put up with more weight in exchange for better skiing performance. Most beginners fall somewhere in between and are best served by a versatile, fairly lightweight setup.
Why does weight matter so much? In ski touring, the ascent makes up roughly 80% of the whole tour. You’ll feel every extra gram on your feet many times over as you climb, so low gear weight is one of the main criteria – but always balanced against how well the setup carries you back down. This trade-off between weight and skiing performance runs through the entire selection process.
How to choose touring skis
Skis are the heart of the setup and determine how you’ll feel on both the ascent and the descent. When choosing them, there are three things you care about: length, width and weight.
Length of touring skis
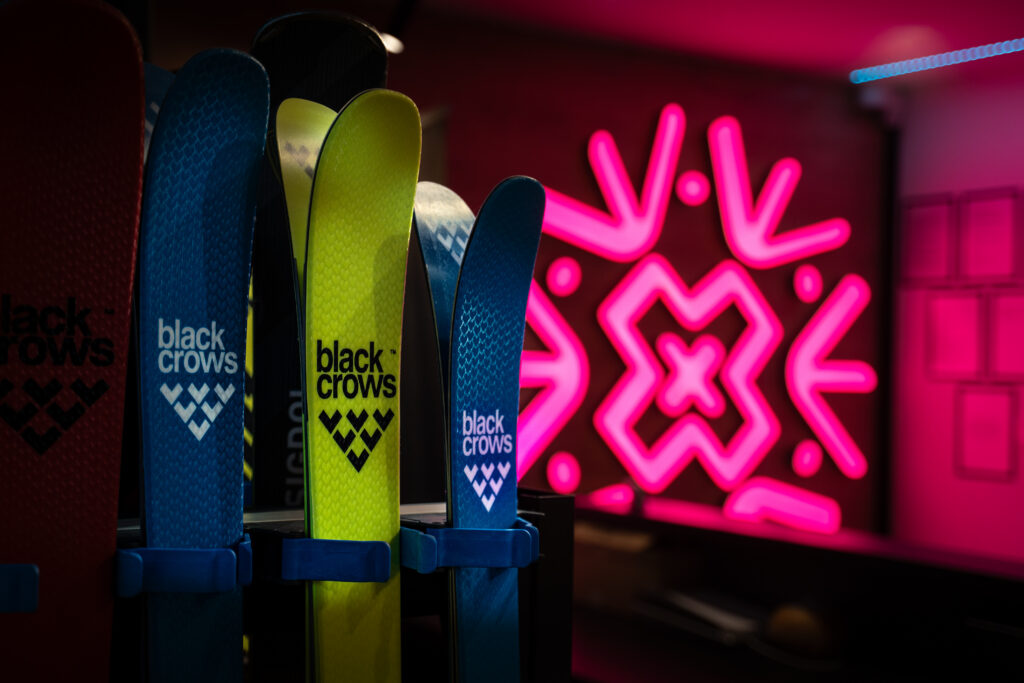
The length of touring skis is the parameter that probably the most people worry about. There’s a simple rule: touring skis should be at most as long as you are tall, and ideally about 10 cm shorter than your height. Compared to regular downhill skis, they tend to be shorter.
Why is that? A shorter ski is lighter, easier to control and makes kick turns on the ascent easier – both beginners and those who tour a lot will appreciate it. A longer ski has a larger surface area and therefore more flotation, so it “stays afloat” better in deep snow and is more stable on fast descents – it’s suited to powder and freeride. So if you mostly tour for fitness and on firmer snow, go for the shorter end of the range; if you’re heading into deep snow, choose longer. Also take into account your weight (a heavier skier tends to go longer) and your skill level.
Beginners: We recommend touring skis as much as 10 to 15 cm shorter than your height. Shorter skis are easier to control in turns and put less strain on your legs when skinning.
Experienced backcountry skiers: Here, a length up to your height or even 5 to 10 cm longer is recommended if you prefer speed and deep snow.
This table will give you a quick guide (the values are approximate – adjust them according to your weight and purpose):
| Skier height (cm) | Approximate touring ski length (cm) |
|---|---|
| up to 160 | 150 – 160 |
| 165 | 155 – 165 |
| 170 | 160 – 170 |
| 175 | 165 – 175 |
| 180 | 170 – 180 |
| 185 and above | 175 – 185 |
Touring ski width (underfoot)
The width of the ski in the middle, under the binding, determines how the ski behaves in different snow:
- Narrow skis (approx. 75 – 85 mm) are light and fast on the ascent and hold superbly on hard snow and firn. They’re the choice for long tours and fitness skinning.
- Mid-width skis (approx. 85 – 95 mm) are all-rounders – a sensible compromise between weight and flotation. For most ski tourers, beginners included, they’re the best choice.
- Wide skis (95 mm and more) have the most flotation and “float” best in powder, but they’re heavier and put greater forces on your legs on hard snow. They’re the domain of freeride.
Weight and construction of touring skis
As we mentioned, weight is key with touring skis – the lighter they are, the less effort on the ascent. Manufacturers reduce it with lightweight cores (for example, paulownia wood) or carbon reinforcements. But be careful not to sacrifice skiing performance entirely for low weight; a very light “uphill” ski behaves differently on the way down than a full-fledged touring ski. Most modern touring skis also have rocker (a raised tip, and sometimes a raised tail too), which helps in powder and when turning.
How to choose touring bindings
The binding connects the ski to the boot, and in ski touring it has to handle two modes – a free heel for the ascent and a locked-down hold for the descent. Essentially, you choose between two types.
Pin bindings (so-called tech bindings) are today’s standard. They’re light and hold the boot with pins that engage special inserts, so you need touring boots with these inserts. Frame bindings are heavier and on the decline these days; their advantage is that you can also use them with a regular alpine ski boot, and they’re better suited to freeride and demanding steep descents. For regular tours, light pin bindings are the clear choice.
The same applies here: choose according to use. For long tours and traverses, you want a light and simple binding; for freeride, something more robust. It’s important to match the weight of the binding to the ski – combining a very light ski with a heavy binding makes no sense. Also pay attention to the release (safety) value, which ensures the binding releases in a fall, to heel risers with several height settings, and to whether the binding has brakes.
How to choose ski touring boots
Boots are the part of your gear you’ll feel the most when ski touring – they determine both your comfort on the ascent and your confidence on the descent. Choosing them is also a compromise between walking and skiing.
On the ascent, you’ll appreciate a large range of ankle motion (so-called walk mode) – the more the ankle flexes in walk mode, the more comfortable the climb. On the descent, on the other hand, you want enough stiffness and support, which come from a stiffer flex and more buckles. A light “walking” boot with two buckles carries you beautifully uphill but offers less support on the way down; a stiffer boot with more buckles is the opposite. Choose based on whether you mostly climb or mostly ski down.
Also keep an eye on the weight and the shell material (lighter models tend to be made of Grilamid or carbon) and, above all, whether they have tech inserts for compatibility with pin bindings. And just as with alpine ski boots, the most important thing is a precise fit – the size is given in the Mondopoint system. We’ve explained how to understand it and how to measure your foot correctly in our article on Mondopoint and flex index.
Skins, ski crampons and the rest of the kit
A complete setup includes a few more things you shouldn’t forget.
Climbing skins must match both the width and the length of your skis. They’re made of mohair (better glide, suited to long traverses), nylon (better grip and greater durability) or a blend that combines the advantages of both. For icy and hard terrain, ski crampons (also called harscheisen or “ski knives”) come in handy – they attach to the binding and make your footing more secure, so don’t leave them at home.
And finally, the most important thing: avalanche gear. A transceiver, probe, shovel and backpack (ideally with an airbag) are a must in the backcountry, not an optional extra. We cover them, and safety as a whole, in more detail in our introductory article on ski touring.
A matched set: how to put it all together
Once you’re clear about the individual pieces, all that’s left is to put them together – and this is exactly where it pays to think about the whole. Skis, bindings, boots and skins should match in both weight and purpose: a light touring ski goes with a light binding and a walking-oriented boot, a wide freeride ski with a more robust binding and a stiffer boot. A setup whose parts don’t work together will spoil your experience both on the way up and on the way down.
If you’re a beginner and don’t yet know which direction you’ll take, go for a versatile, fairly light, mid-width setup. It will handle everything from fitness climbs to gentler powder and give you time to find out what you enjoy. And above all – don’t buy blind.
Rent and try it first
A ski touring setup is a considerable investment, and until you find out which style suits you, there’s no point spending thousands of euros. It’s far more sensible to rent the gear first and try it out for real. At the Snowflake Academy rental shop, you can rent a complete ski touring set – skis, bindings, boots and skins – serviced and adjusted to fit you, so you can find out on your own feet which length, width and stiffness work for you.
And if you want to avoid mistakes not only when choosing your gear but also out in the terrain, head out with a professional ski touring instructor. They’ll advise you on your setup, show you the right technique for both the ascent and the descent, and teach you the basics of avalanche safety – so you can enjoy ski touring to the fullest and safely. The mountains will wait; what matters is heading into them well equipped.